$ oc debug node/<node name>
$ chroot /host
$ lspci | grep -i nvidia
17:00.0 3D controller: NVIDIA Corporation TU104GL [Tesla T4] (rev a1)
65:00.0 3D controller: NVIDIA Corporation TU104GL [Tesla T4] (rev a1)
Stable Diffusion on OpenShift with GPU Sharing
Tags : openshift, gpu, aiml, stable diffusion
Stable Diffusion on OpenShift with GPU Sharing
So the intuitive follow on from the last blog post Stable Diffusion for Fedora Core is of course to see if we can get the app running on OpenShift in a lab environment!
There are a couple of challenges. In my case, i actually wanted to demo the app in a lab that contains some older Nvidia-Tesla-T4 GPU’s, a bare metal SNO instance along with a bunch of other GPU enabled apps. This raises some interesting questions, in particular how do we configure and deploy applications so they can share the GPU’s in this environment?
One of the best article i found describing GPU Sharing and the various mechanisms involved, highlights the different options available.
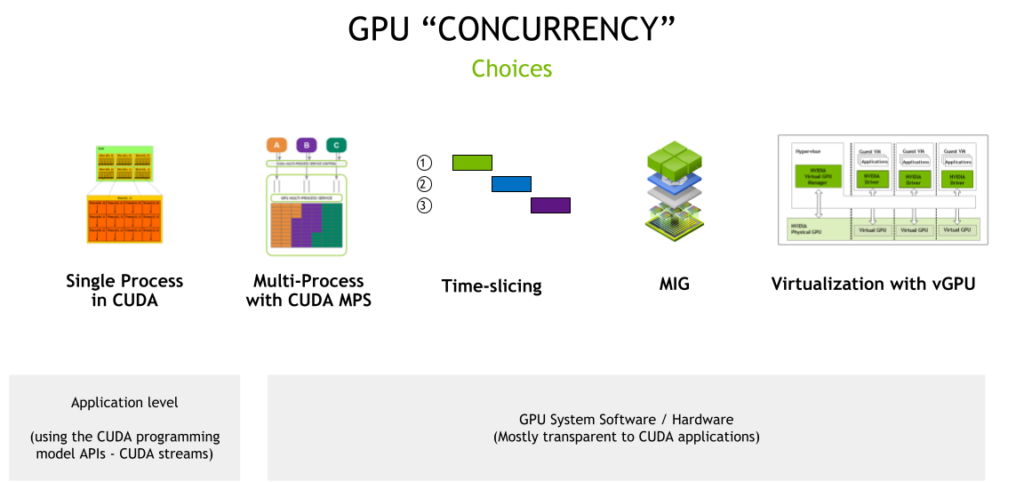
We are interested primarily in the system software and hardware part of this picture (CUDA and MPS-CUDA are more at the application level). Although, Stable Diffusion does require working CUDA for python torch as well.
MIG (which stands for multi instance GPU) is the newest technology and only supported on a small number of cards (not the T4') like vGPU (A100 and A30). There are some great OpenShift blogs describing MIG usage. vGPU is a technology that is only available if OpenShift is running in a VM/hypervisor. vGPUs are created/configured at the hypervisor level independently of OpenShift.
So, that leaves us with Time-slicing. The best place to read about it is on the Nvidia site. Unlike MIG, there is no memory or fault-isolation between replicas, but for some workloads this is better than not being able to share the GPU at all. There is a lot of documentation to read, so i’m going to summarize the steps to get OpenShift Bare Metal SNO working using time-slicing.
Installing the Node Feature Discovery (NFD) Operator
The first step after installing OpenShift SNO bare-metal, was to configure the NFD operator as cluster-admin. The default configuration for the operator is fine. All going well, your GPU’s should now be visible to OpenShift, and you can check by doing:
We can see our two physical GPU’s OK. Another check is the node labels and description:
$ oc describe node | egrep 'Roles|pci' | grep -v master
   feature.node.kubernetes.io/pci-10de.present=true
If you see the pci-10de device, that is the code for Nvidia GPU’s, all good so far.
Installing the NVIDIA GPU Operator
Next step is to install the Nvidia GPU Operator. By default you should not need to install any license as OpenShift 4.9.9+ is entitlement free. There are several pods that install with this operator. If you install the default Cluster Policy the nvidia driver is downloaded and compiled for your OpenShift and inserted as dynamic kmods. This may take a little bit of time to complete.
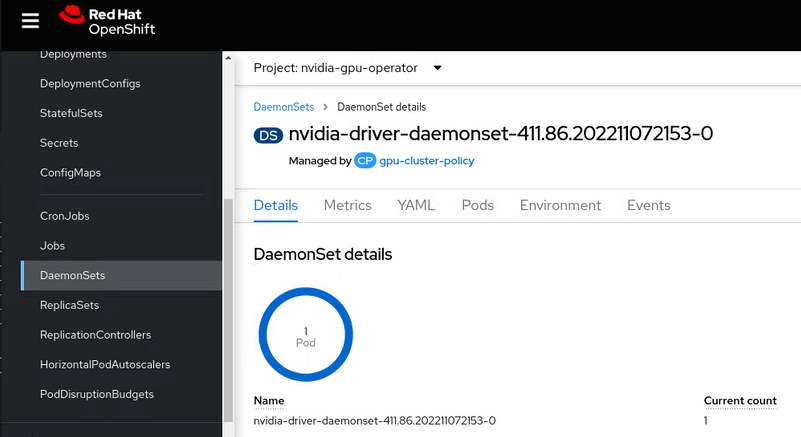
In our case, we only have one node (SNO) so the dameon set compiles and installs the driver on our node. If you follow the documentation above you should be able to verify the drivers are loaded.
$ oc debug node/<node name>
$ chroot /host
$ lsmod | grep nvidia
nvidia_modeset       1142784  0
nvidia_uvm           1310720  2
nvidia              40796160  363 nvidia_uvm,nvidia_modeset
drm                   589824  4 drm_kms_helper,nvidia,mgag200
Its worth noting that if you were using vGPU, you would also get the nvidia_vgpu_vfio module, but because we are bare metal, the driver dameon set recognizes passthrough mode and does not compile it.
The second part of the puzzle is you need to now configure the GPU for time-slicing. To do this we need create a ConfigMap that specifies how many slices we want, for example 8 in our case.
kind: ConfigMap
apiVersion: v1
metadata:
  name: time-slicing-config
  namespace: nvidia-gpu-operator
data:
  tesla-t4: |-
    version: v1
    sharing:
      timeSlicing:
        resources:
        - name: nvidia.com/gpu
          replicas: 8
Next, we add this ConfigMap name into the nvidia.com ClusterPolicy.
                  devicePlugin:
                    config:
                      default: "tesla-t4"
                      name: "time-slicing-config"
                    enabled: true
By enabling the devicePlugin you should see the device plugin DaemonSet spin up.
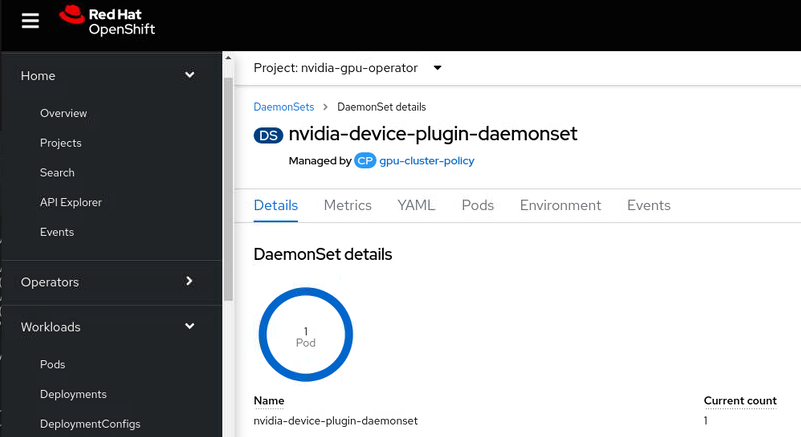
We are nearly there ! If we now look at the OpenShift node description, we should see how many GPU’s OpenShift now thinks it has.
$ oc describe node| sed '/Capacity/,/System/!d;/System/d'

Capacity:
  ...
  nvidia.com/gpu:                 16
Allocatable:
  ...
  nvidia.com/gpu:                 16
So great ! that is 8x2=16 time-sliced GPU’s available.
Deploy Stable Diffusion
I have created a simple Kustomize folder in the git repo and split out the two part needed to get the app running.
First create a data download job (this is 6 GB of downloads), which creates a PVC using he default Storage Class to download the required Stable Diffusion model data.
oc apply -f create-data/app.yamlThen run the deployment.
oc apply -f create-app/app.yamlHere’s an example of a run on the lab, showing the nvidia-smi pmon on the shell for the running python process and an output text to image.

In our Deployment we only requested one GPU, so we get one time-sliced gpu.
resources:
limits:
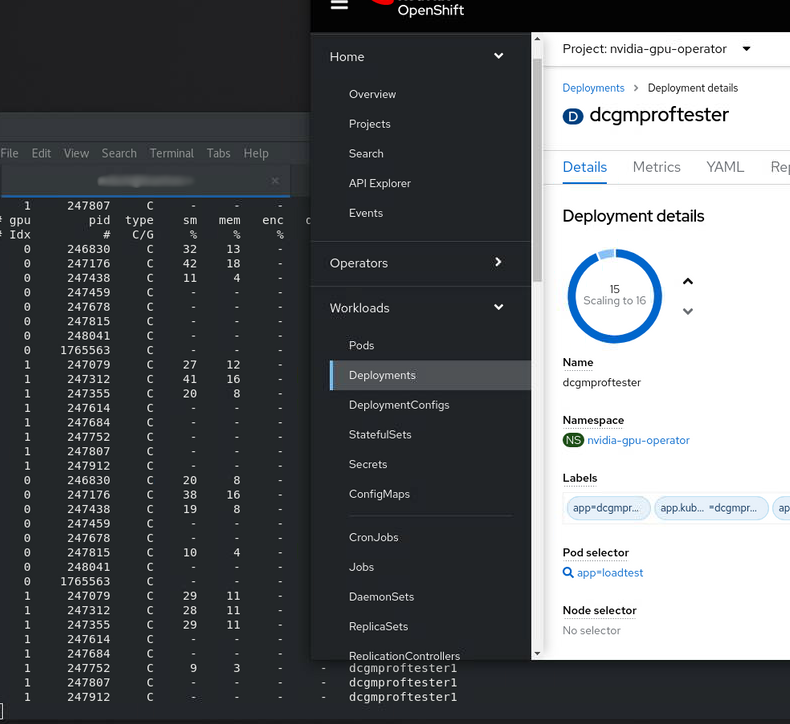
nvidia.com/gpu: 1You can scale this up, or use the nvidia sample image to test out time-slicing and sharing e.g. Create a Deployment using this image.
        replicas: 16
        image: nvidia/samples:dcgmproftester-2.0.10-cuda11.0-ubuntu18.04
        resources:
          limits:
            nvidia.com/gpu: "1"
And hey presto ! we now see 15/16 app replicas spinning up and running on our 2 physical GPU’s. You can see them easily using nvidia-smi pmon. We don’t quite get to 16 as Stable Diffusion is still running on the GPU as well!
Blog posts are published under Creative Commons license by-nc-sa Creative Commons by-nc-sa. 
© 2023 | Baked with JBake v2.7.0 | Published Sun May 17 03:40:14 UTC 2026